Wednesday, September 15, 2010

Cornhole nuts..

Project Cornhole bag holder

*I couldn't think of a good name for this*


My husband and I love to do things outdoors, and what is better than being outdoors playing a game and drinking beer? Not much! If you have been anywhere outside of your house recently you may have noticed the cornhole craze. If not, here's a brief overlook:

1. You have two boards
(we made ours at home. They are tournament size)

My husband graduated from the University of Toledo and I went to Grand Valley State University. We chose to do these in our colleges for two reasons
a. we could use the same color paint since their colors were the same
b. This game originated at the University of Cincinnati as a college game.


2. You also have eight bags made of duck cloth and filled with corn. I wish that I had made these bags after I started this blog. Then I could show you that process.. it's long and not always a breeze.

3. You and your opponent stand at one board and throw the bags at the other board. The goal is to get them in the hole, or at least on the board. You get 3 points for getting it in the hole and 1 point for on the board. Points cancel out, so if one person got one in the whole and none on the board they would have 3 points. However, if their opponent had all 4 of their bags land on the board (none in the whole) they would actually end up with 1 point overall and the other person none. Get it? And don't go over 21 - that's the magic ending number. Because if you do go over then you are sent back to 13. Most people play this game in pairs, so you would have one person from each team at a board.

Here's what a game in progress looks like:


Along with our boards we decided that a bag holder was in need. We were getting tired of trying to not lose any on road trips or just in the garage. So I headed to the store and took a look around and with much pleasure I went to work at it. Here is what happened.....


Because I needed perfect edges I used the rotary cutter. Plus you can cut through multiple layers to make sure you have everything right.

For this I used four 11in x 17in and one 11in x 11in pieces of each type of material. You can use just one type of heavy material if you wish, I used two because the referee material was a jersey knit and definitely not strong enough.


I then matched up a piece of lighter fabric with its heavier counter part and sewed all around the edge to make it much easier to work with. Instead of pining them all together. I ended up with 5 pieces to work with opposed to 10.

You don't have to worry about it looking pretty. This will eventually all be hidden.


Sew all sides together
(11 x 17) facing inward.

I used an inch seam, but that all depends what you want.

Leave at least two inches at the top of one seam for the rope to go through.

Then sew on the bottom piece (11 x 11) to the sides.

Clean up the excess
material.


Fold over the top edge and hem 1/2 inch or so. This will make the inside look neater when you create an area for the tie. Once you have a "basket" then you take your clothesline, or other type of rope and measure out how much you are going to need to make your final hem around the outside.
Fold over, pin and sew. It will look unfinished until you feed the rope through. I found it easiest to wrap electrical tape around the clothesline about 6 inches at the end. When you are finished pulling it through you will cut this 6 inches off, so make sure you take that into consideration when cutting the length.


Beware of playful kitties!


At this point, begin feeding the rope through the last top hem. When you have both ends out you can finish off the bag by tucking the unfinished edges under and hand sewing them closed.


Once the rope is through and everything cleaned up take some duct tape and wrap around the ends a few times to prevent it from fraying.

Now fill your bag up and enjoy!

Take note that I made this bag larger than needed for the eight bags. I was taking into consideration the possibility of making more in the future and it can help carry other things when going to an outing.

Wow... here is me finally checking back in a month or so later. Life took me by surprise during the month of August and I just didn't have time to work on my computer. I have definitely taken pictures and crafted along, I just have not taken the time to sit down and put them online. All that will change here soon!

Friday, July 30, 2010

Crafting

Photography friends... please be aware that I will now start using this as a crafting blog as well as a photography blog. Therefore some of the pictures may not be the greatest because I am snapping them quickly as I move along through a project.
I was lucky enough to have inherited some of the creativity both of my parents possess. My dad is an amazing photographer, artist and craftsman while my mom can paint, draw and craft better than most people I know. I have always dreamed of having my own little art studio filled with everything you can find at Hobby Lobby. Until then this is what I have...


It is just right for me..


for now.

It doubles as the cat's litterbox room, my husbands closet/dresser room and a guest room. As well as a catch all for anything else we may need a room for. But when need be, it is all mine.
However, when I want to sew this is what I look like...


Awesome huh?Do you love my fuzzy socks I have to wear to stay warm in the subzero temperatures my husband keeps our house?

Oh, I also have my laptop in the room as my jukebox.

I end up with a very sore back after a day/night of sewing.

The project I was working on in that picture is the first one I would like to showcase. My mother-in-law works at the Post Office, and no, she has never gone postal. Yet.

She wears this Apron while at work:

You may notice the spot towards the top that is darker and wearing out plus the strap coming loose on the left side. She is about 5 feet tall and this apron can be a bit long on her, so she asked me to cut off the bottom and make some small pockets at the top to cover the spot. So Here is what I did:


I cut off the bottom of the apron, making sure I would have enough fabric for the pockets I needed to create. I realized that I didn't leave enough room for a finished hem.. so it looked kind of horrible, but she didn't mind :)

After cutting and hemming the bottom I started in on pocket. I also decided there was enough excess fabric to put a stabilizing piece on the back.

I put a nice finished edge around the whole pocket piece then sewed the side and bottom edges onto the apron itself. Since she wanted two pockets on the top I put a simple stitch right down the middle and voila! a new apron all together! It is about 10 inches shorter and has two extra pockets!


TA DA!!


I had a lot of fun with this project. However, I don't think I have ever used so many pins before in my life. Took me forever! I must say that this was on a Sunday and my amazing husband cooked some amazing rib-eye while I was doing this.. and just to make you drool.....


I had the one on the right.


MMMMMMmmmmmmmmm


Even the cat couldn't resist the wonderful aroma of grilled steak marinated in garlic and teriyaki...


That's all for tonight!!!!


Monday, July 12, 2010

Reese's Modeling

Money sucks.. and without it you have slow internet... and slow internet prevents me from doing mass uploads of pictures.

finally, I have the cat pictures I have promised.

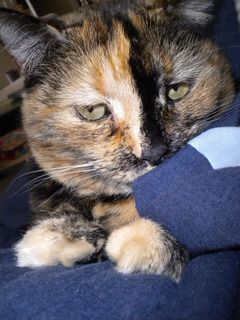
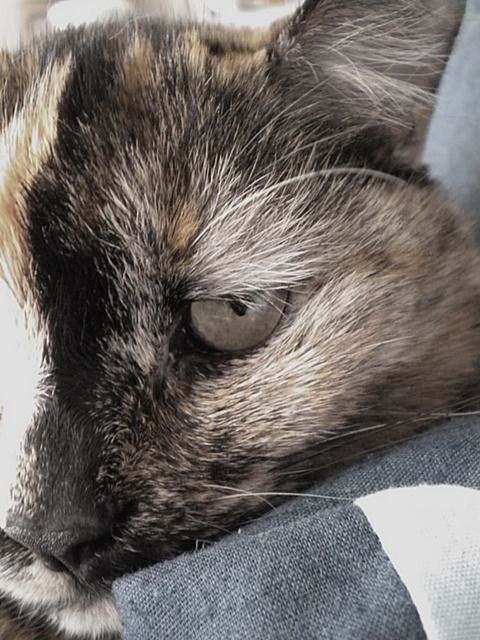
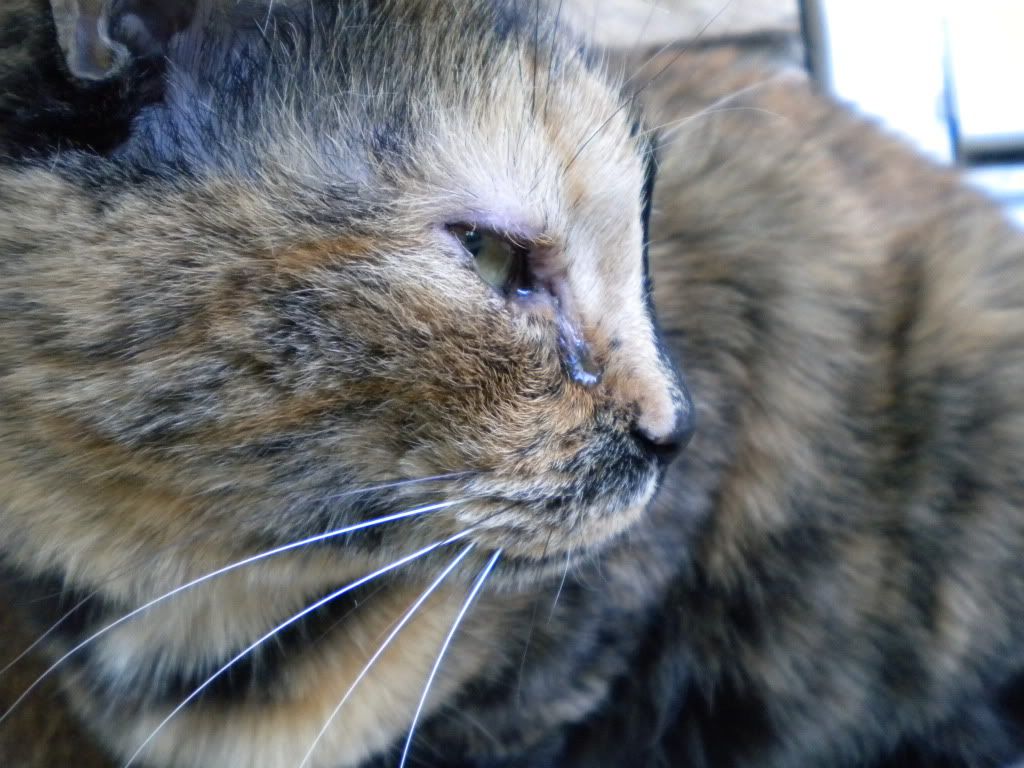
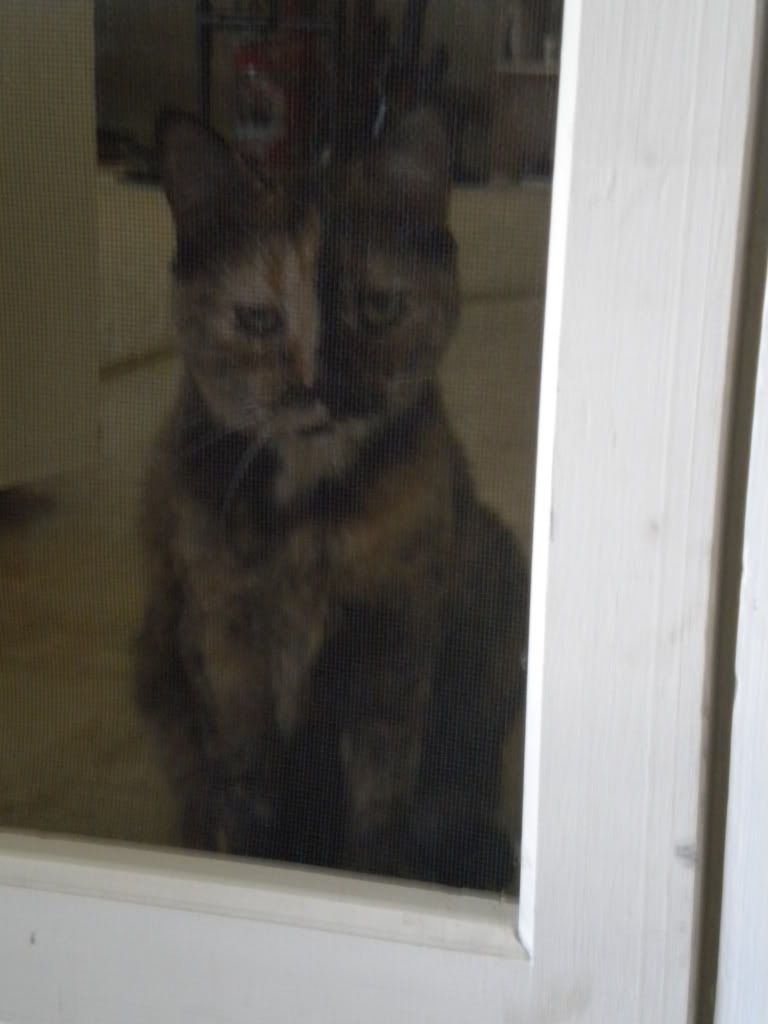
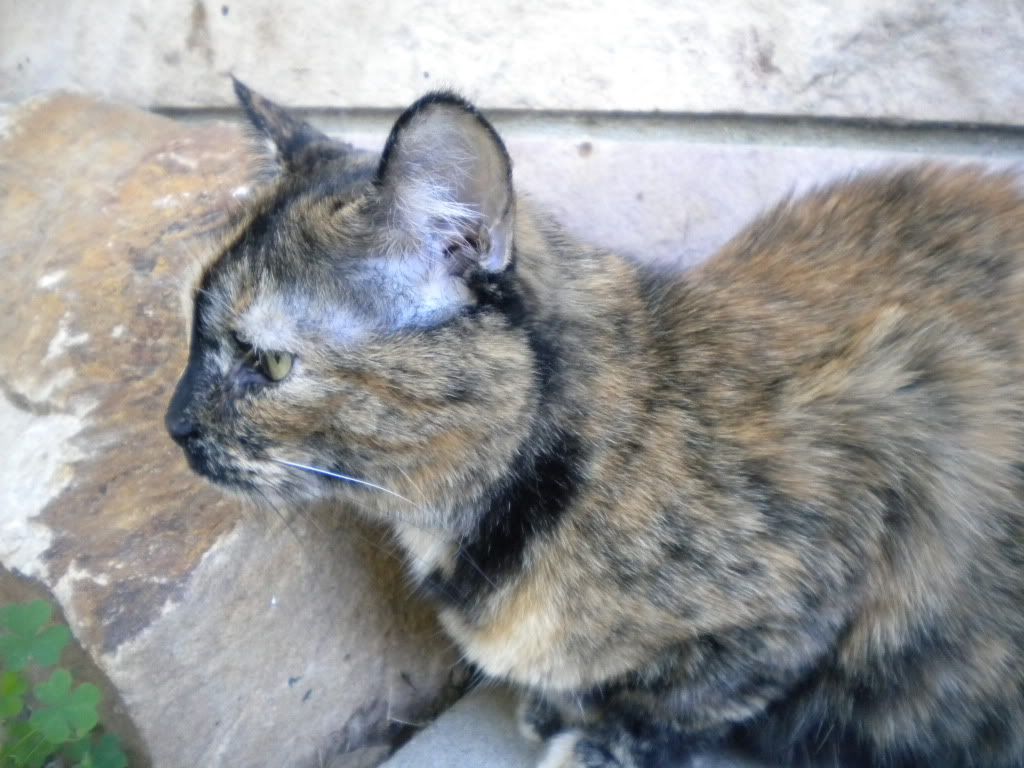
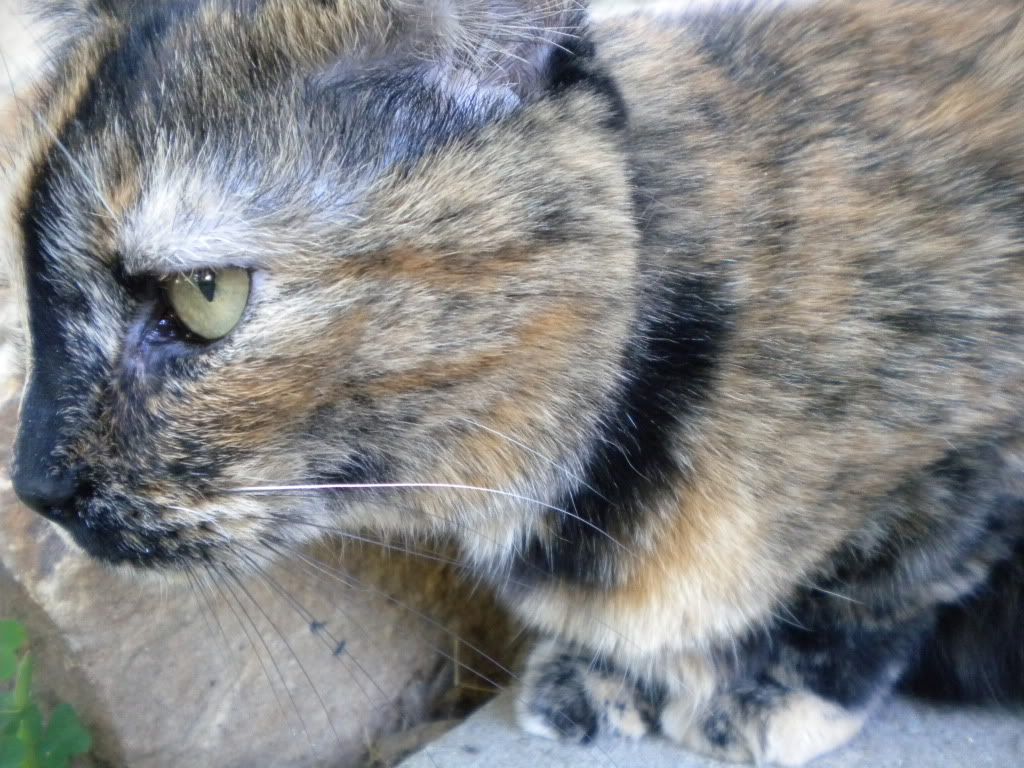
This is my needy, yet adorable, cat Reese. Named for her coloring that reminds me of a Reese's peanut butter cup. Her coloring is that of a tortoiseshell cat, torti for short, which is calico without the white. She has the prominent two-faced look that most torties have, but in my opinion her's is one of the neatest I have seen..

so without further ado...


REESE

Photobucket


Photobucket

Photobucket


Recently, she has had a bit of an eye infection
Photobucket
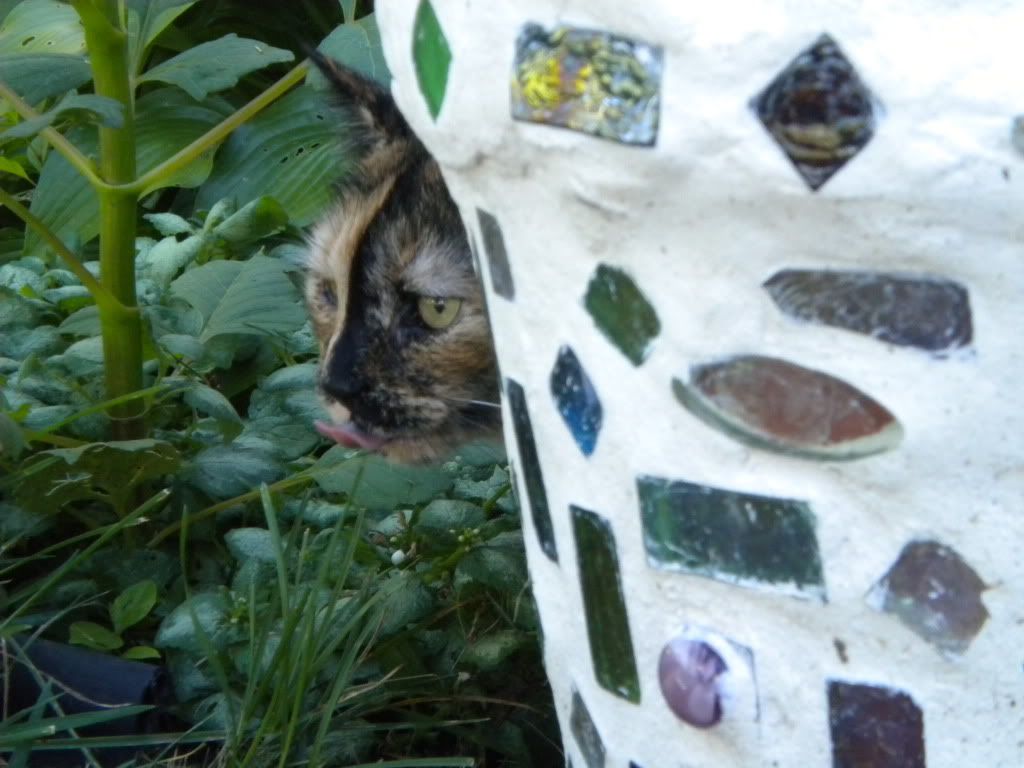
but I still let her out to play. When she was at my mom's house she was able to go outside as much as she wanted to. Here in Richmond i am afraid she will get lost so she gets supervised visits to the outdoors. Here is one of her little rendezvous outside the house.

Photobucket

Begging to be let outdoors

Photobucket

Photobucket

...and my favorite, because her tongue is sticking out...

Photobucket


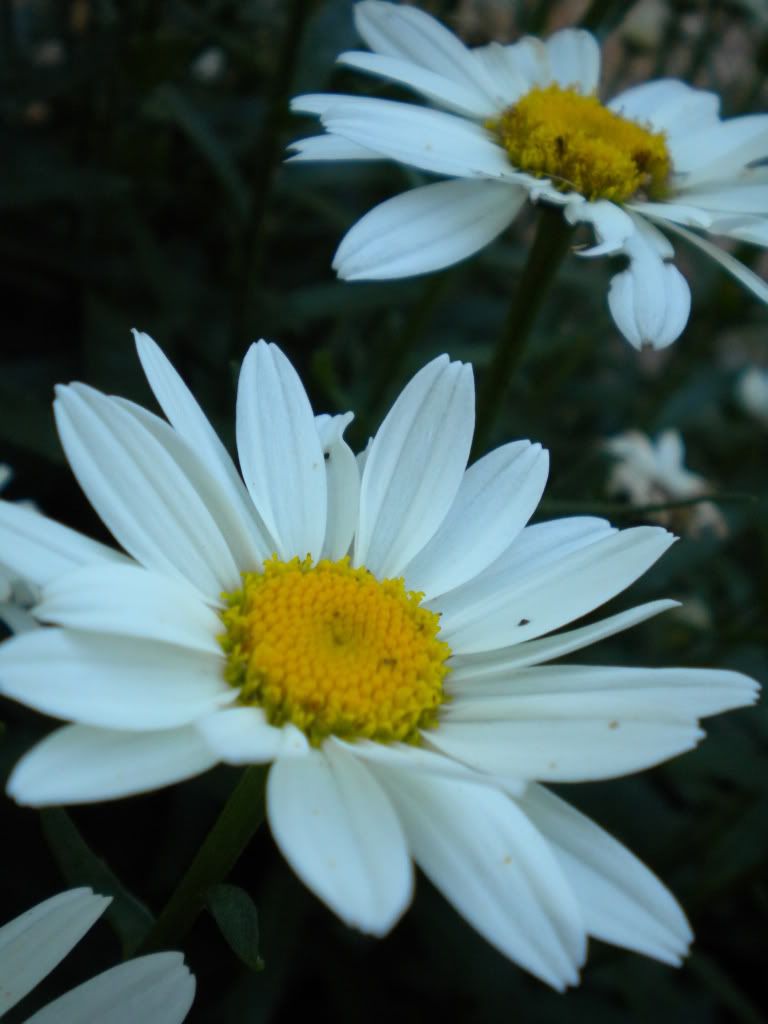
Mostly she liked playing amongst the
Photobucket
and laying against the house. I can never resist hanging outside in all of my flowers and in the sun with my cute, cuddly cat :)

I'm out!

Tuesday, April 20, 2010

SPRING... cont.

This past weekend Sean and I headed to my hometown for my grandparent's 50th wedding anniversary..

Photobucket
Photobucket
Photobucket

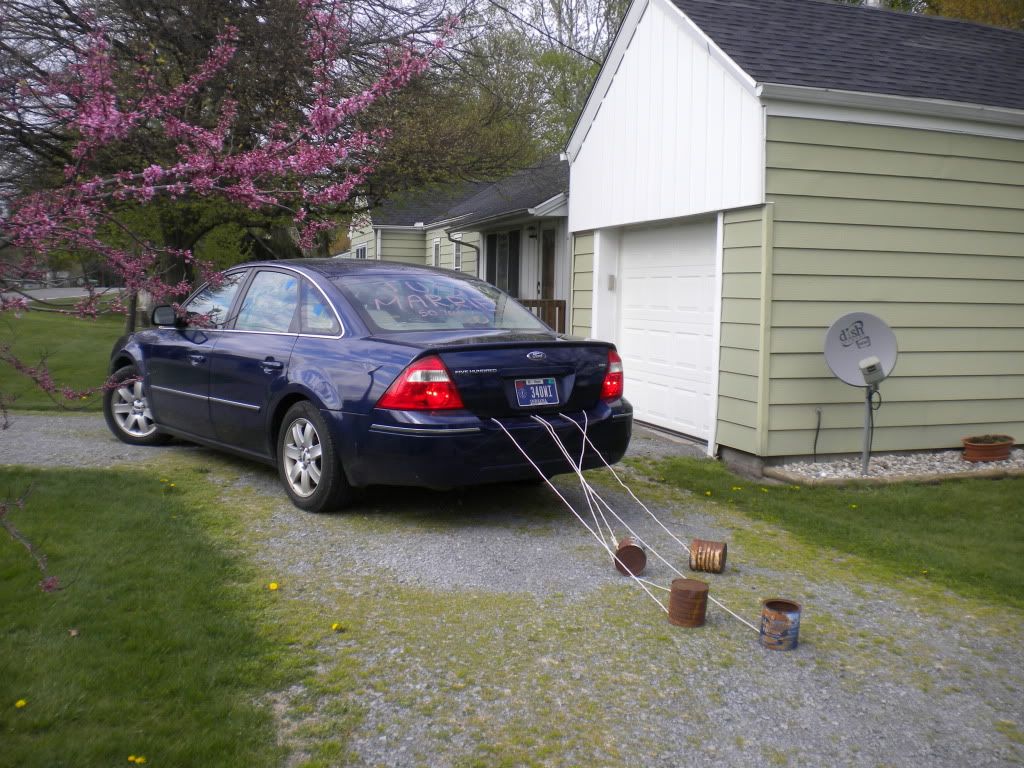
Yes, those are rusty coffee cans tied to the back end of our car. Oh, and yes, our car does say Just Married on the back end with gold bows tied to the side mirrors. :) My mom and I gave Sean crap until he agreed to let us decorate for the two anniversary birds.

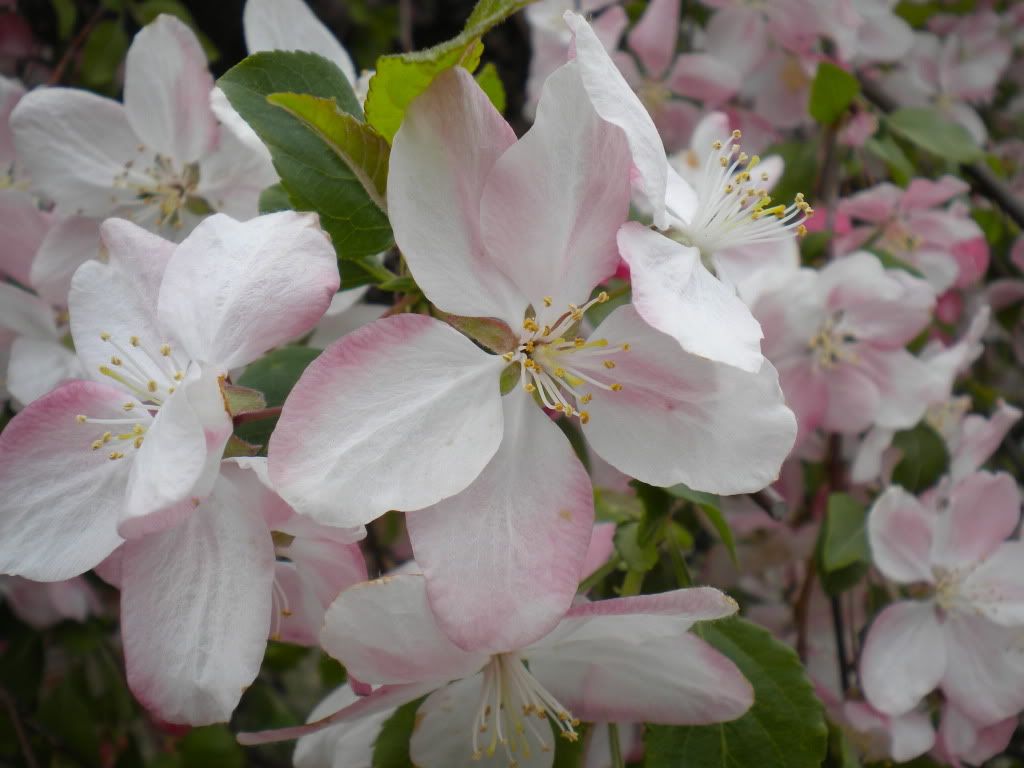
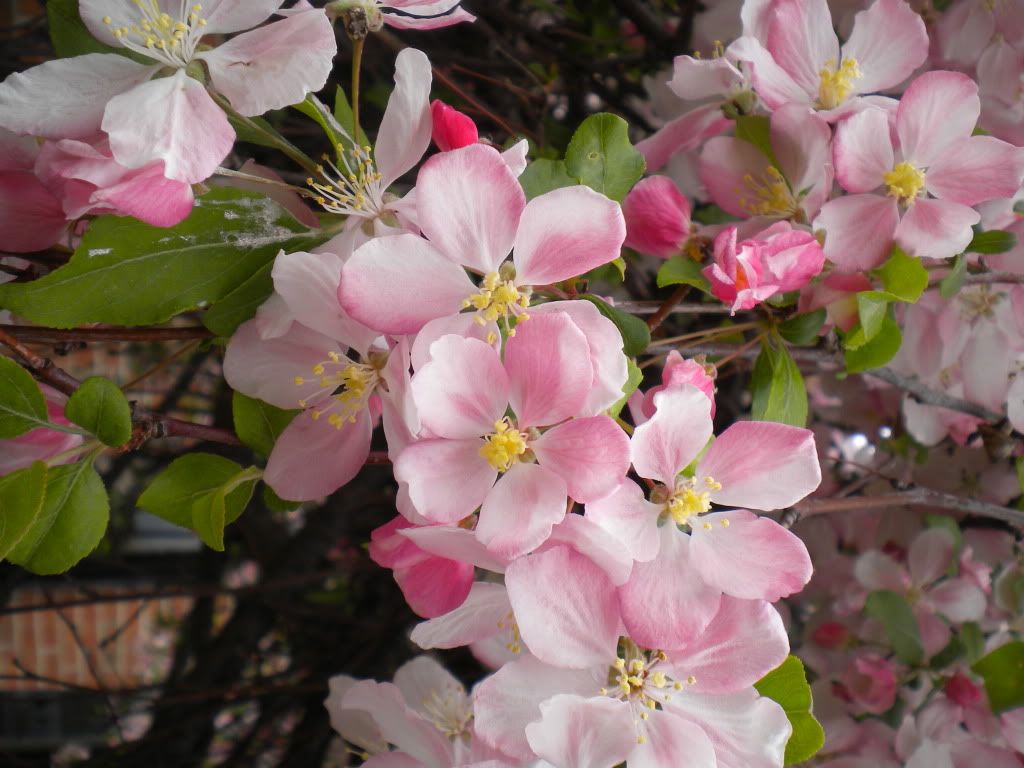
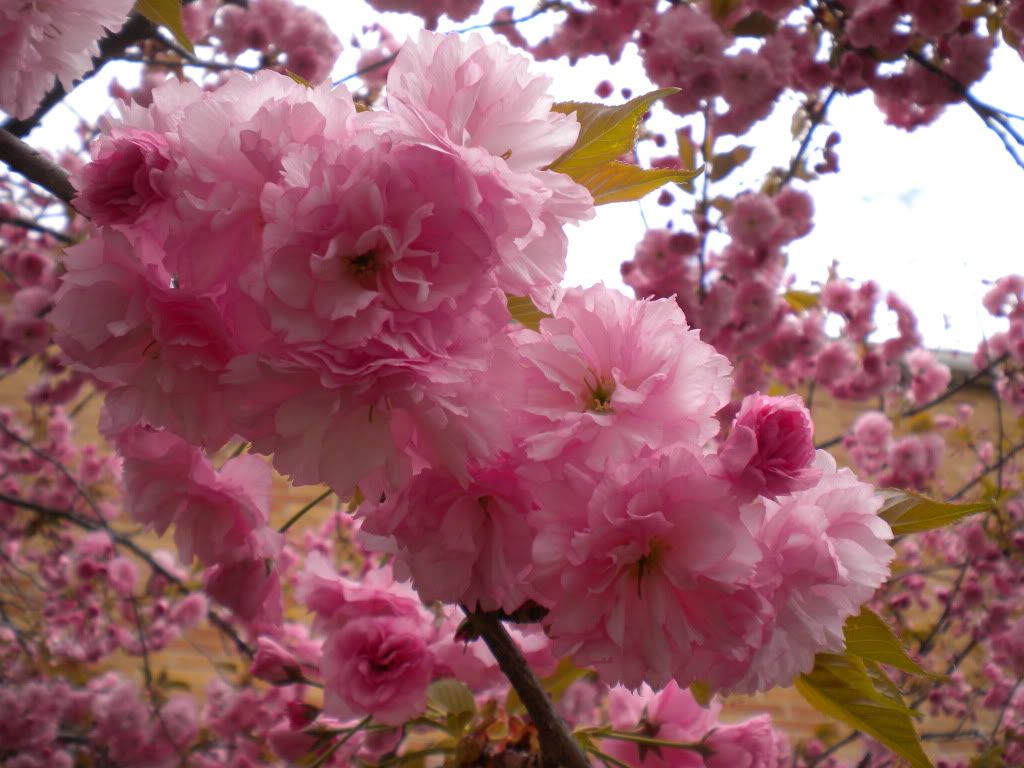
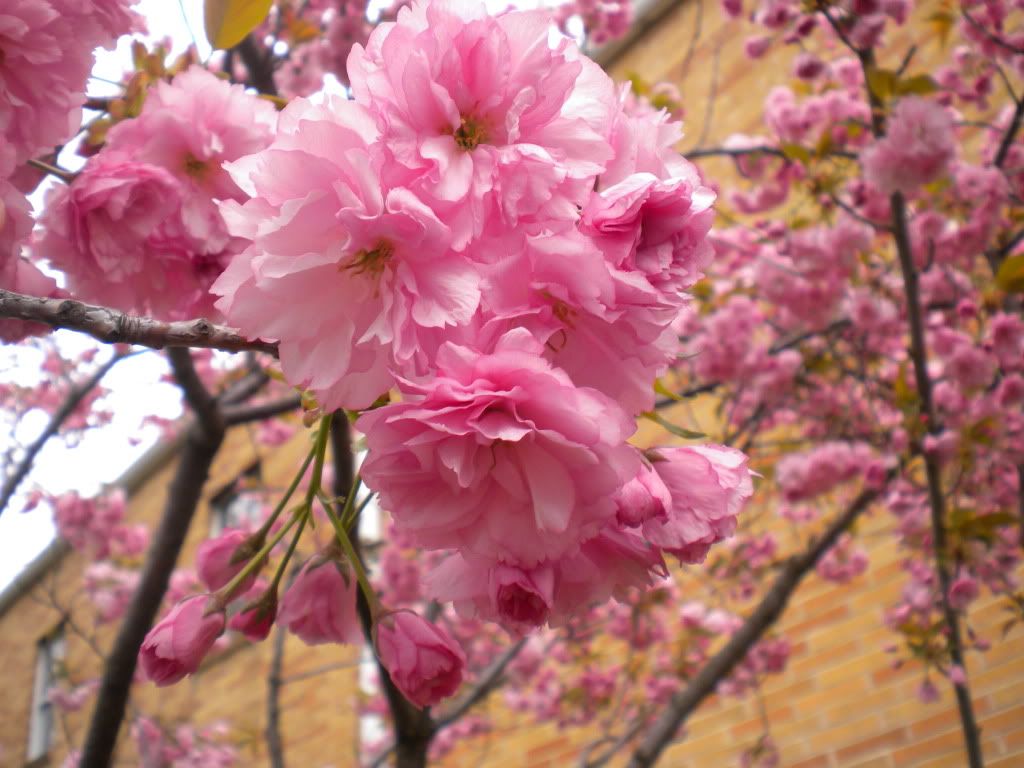
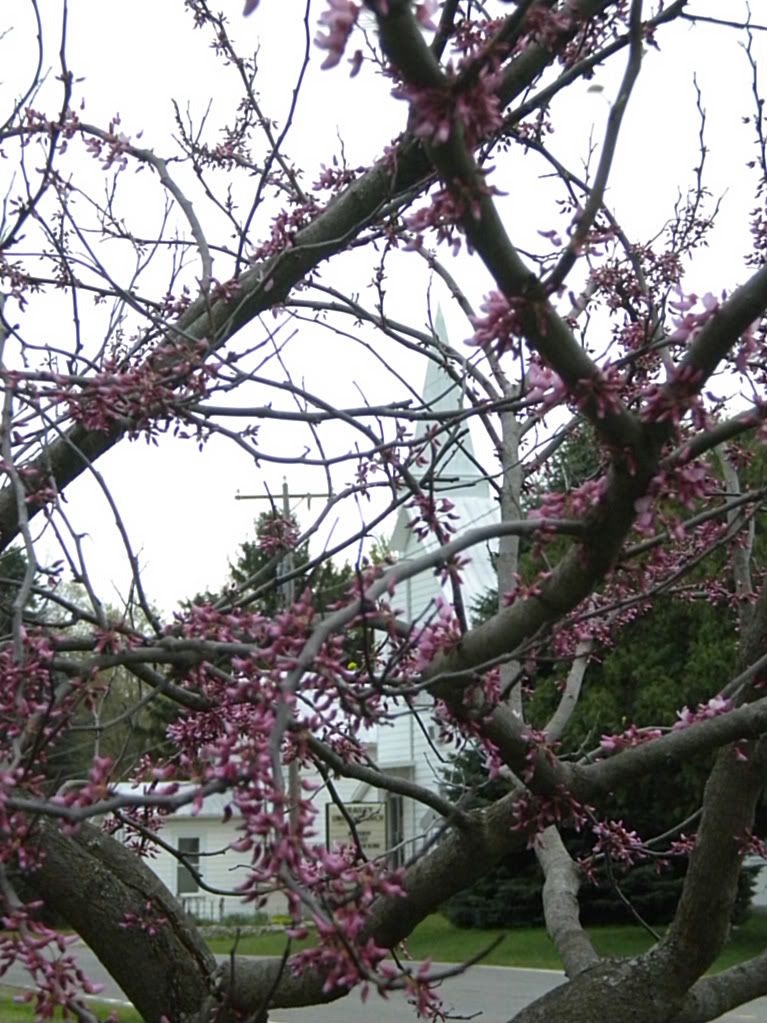
While we were there I realized that there is a regional difference and that spring was about a week behind! While the flowering trees in Richmond are almost to the green stage, there they were in full bloom up there...

Photobucket
Photobucket
Photobucket
Photobucket

Most of these I took with my neice Morgan on our hour long expedition of the Swanton/Delta area. I was collecting photos for Papa and Grandma's anniversary photobook. One of my favorite pictures is of the church I grew up attending in the background of a dogwood about to bloom...

Photobucket

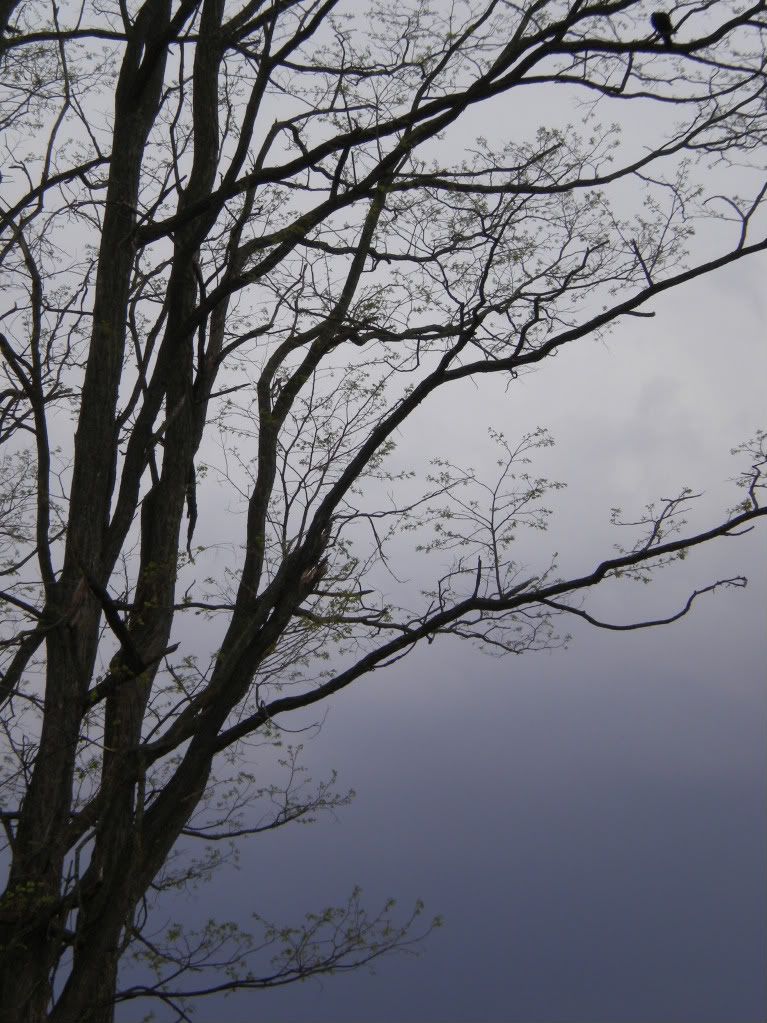
Friday afternoon, before we left to go up there, a nice front blew through the area making a few storm clouds pop up. Since it was in the afternoon while I was waiting for Sean to get home I decided to spend some time outside. I think I have become obsessed with leaveless trees against skies.. take a look...

Photobucket
(look close for the crows!)
Photobucket
Photobucket

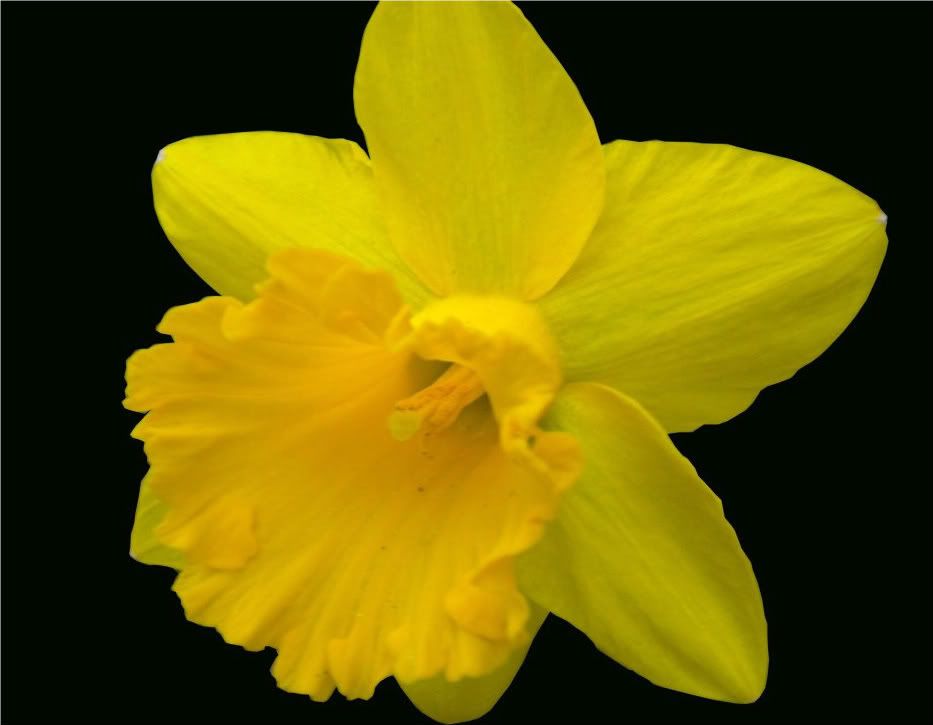
That last one I decided to play around with a bit online... i think this will be a great Halloween picture!
Photobucket

Stay tuned for a cat photoshoot and some more springtime!
I changed our internet today to a cheaper package and the speed is significantly slowing my blogging abilities. Time for some other things!

Peace out

Wednesday, April 7, 2010

S.P.R.I.N.G.

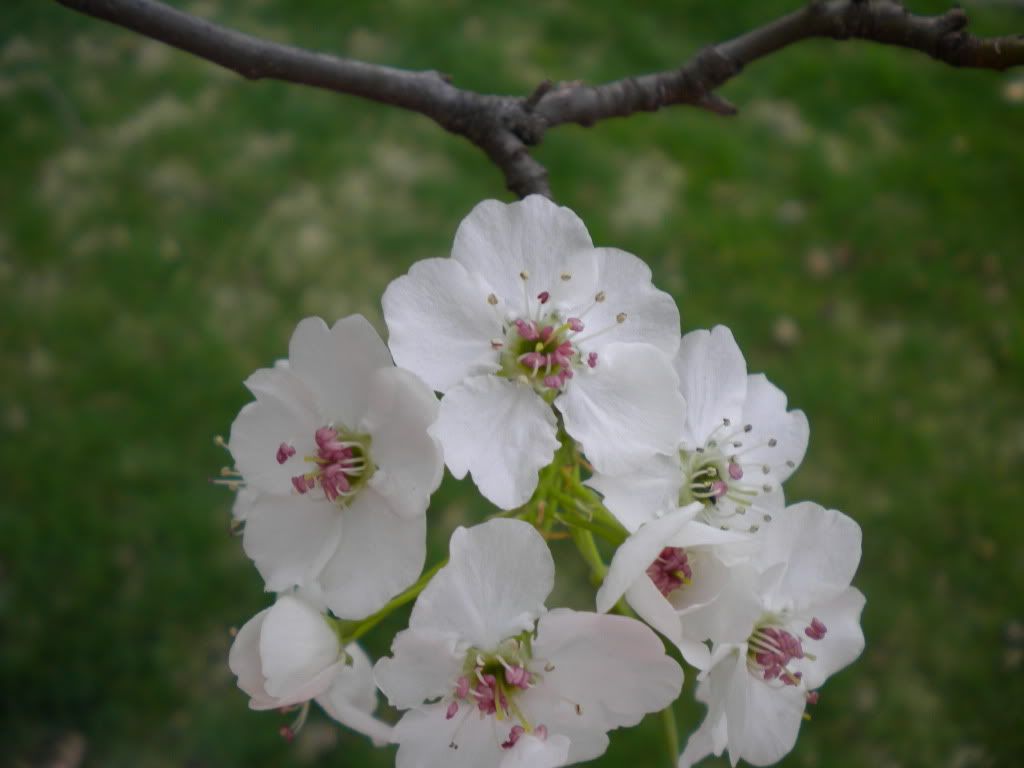
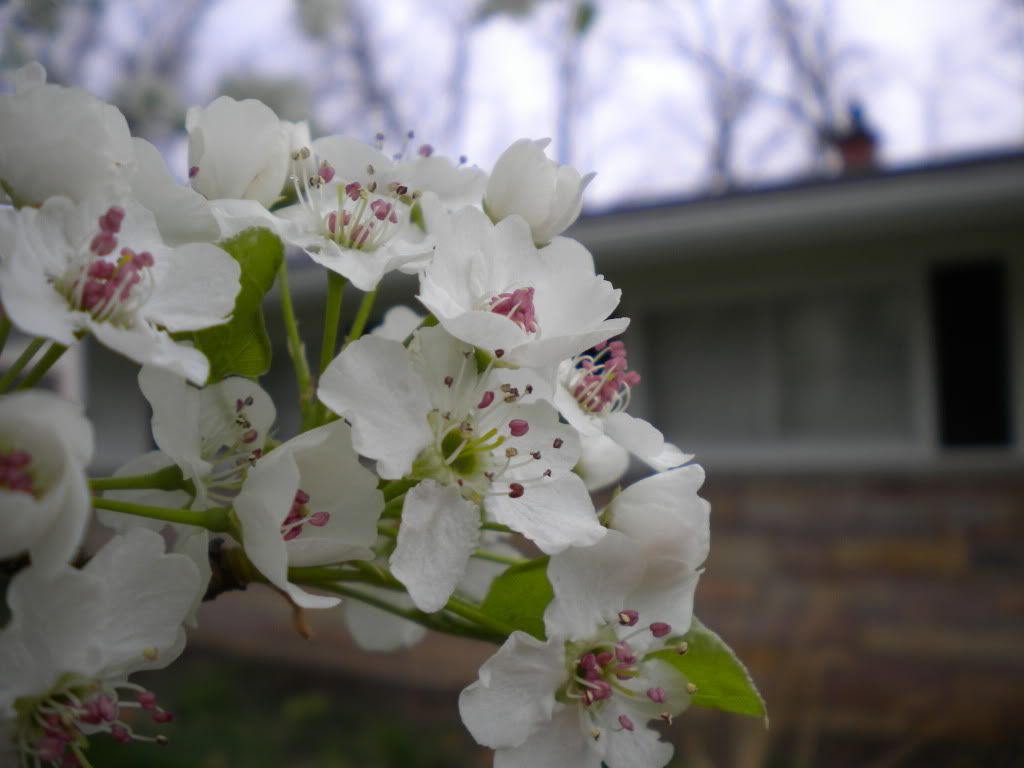
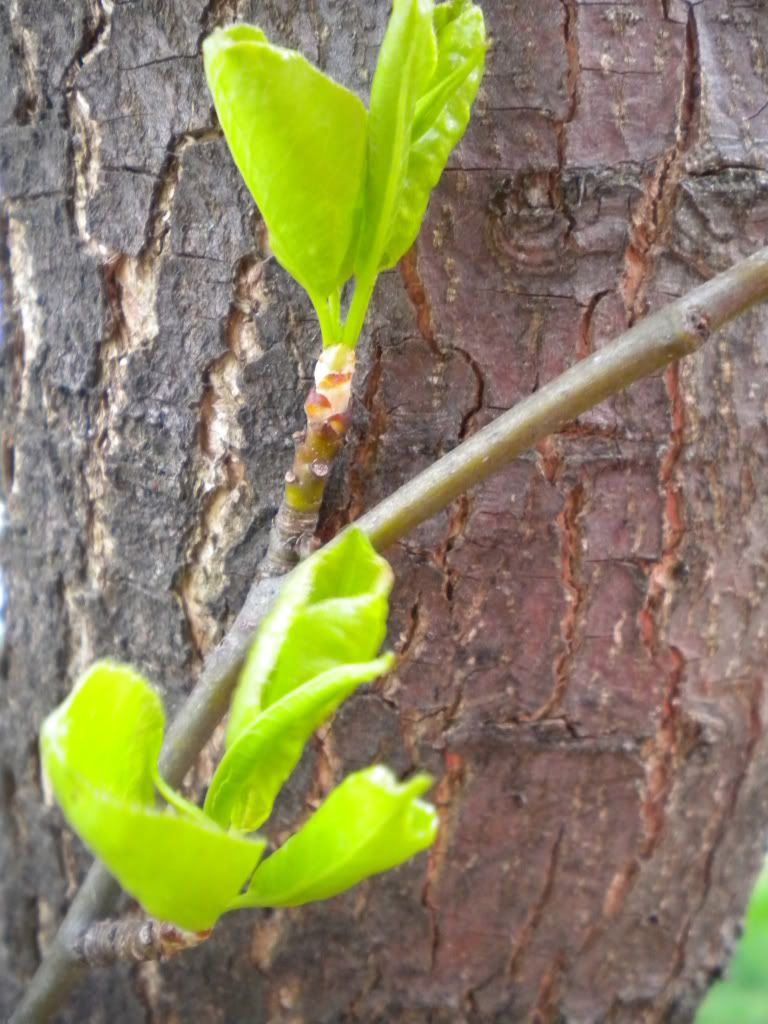
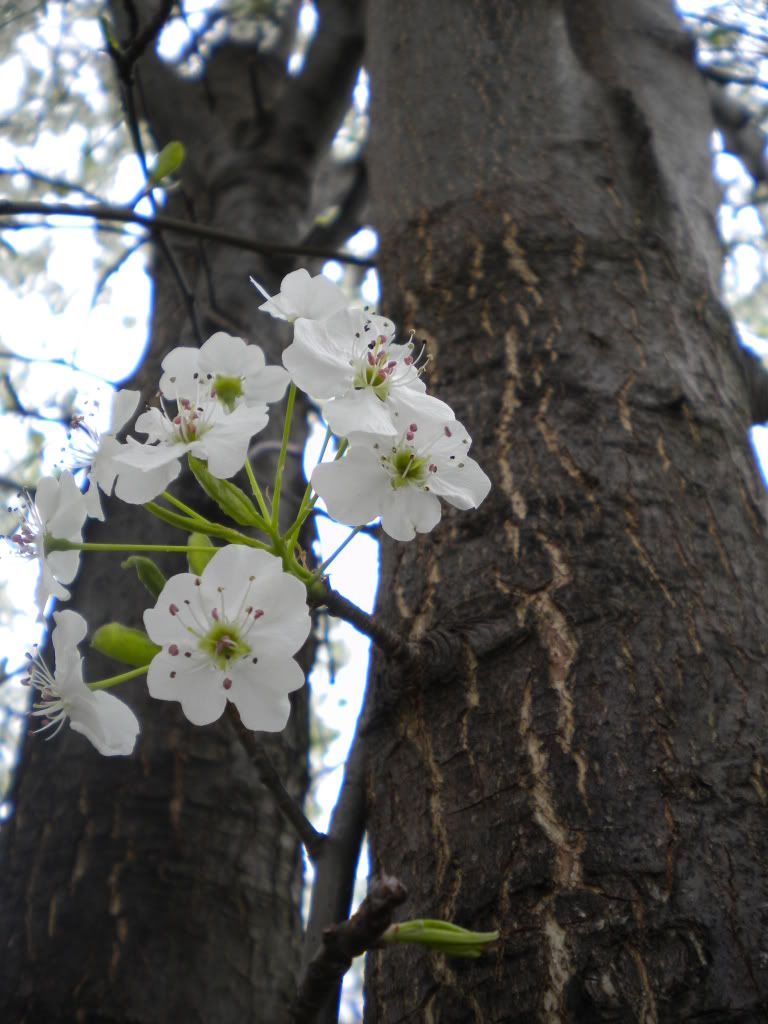
SPRING HAS SPRUNG!!!

There are so many beautiful transformations taking place as we speak. I couldn't help myself but snap a few pictures tonight when I got home from work. Take a look!


PhotobucketPhotobucket

PhotobucketPhotobucket

PhotobucketPhotobucket