Sunday, March 27, 2011

Baby Blowout - episode 1

In the past few months I have had baby fever.

Not to have them myself, actually that's a lie. It has been because I have been working hard on baby shower projects. I am going to start out on the most recent shower.

Ms Nicki is a soon to be first mommy to a little bundle of joy. June Carolynne is due to enter the world on May 18th. Her mother loves piggies and therefore, a little piggy shower was thrown in her honor. First, I usually make a blanket for baby showers, but it is near IMPOSSIBLE to find nursery fabric with a pig print. To make up for my lack of pigginess, I found this wonderful pattern online to make a stuffed pig. I was able to find a fabric pattern that matched her bedding and made an adorable little pig for her :0)


This was by far the least cute thing of the day..


Piggy Cupcake Picks!!


I purchased the 'Create a Critter' cartridge and went to work:

for this you will need:
Create a Critter cartridge
The Paper co. Botanical fashion colors (or two different pink hued cardstocks)
Flat toothpicks (muuuuch easier then rounded)
Elmer's glue
Pin or x-acto knife (popping out the eyes, mouth and cheek dots)
Cricut spatula (optional, but great for high volume jobs.

I made 60 pigs at 1 1/2 inches. There are four layers to cut out, the back (light pink), the body accents (dark pink) with dress, the overlay body (light pink) and nose (dark pink). By using the quantity option and having three mats to work with, the cutting process was a breeze, assembly was a different story.

I found it was easiest to use plain elmer's glue for clean up, hardening and aesthetic purposes. I also must mention that my hubby helped because by the time I got around to making them, I was in the weeds with all the gluing!

First, glue the back and body to the toothpicks against the flat end. Then you will want to "dress" your piggy and give it a nose by gluing them to the overlay. By the time you get to your 60th pig your first one will be dry enough to assemble. Glue the overlay onto the dark accent body and let dry.

Bake some scrumptious cupcakes, pictured ones are courtesy my cousin Michelle. Add your piggies, and you get the cutest picks you have ever laid eyes on.....

Ok, Ok, ok

Yes, I know..
I have promised to get back to work on my blog. However, I have been so busy trying to get my computer back in to shape. Not only did my plan fail, but set me back months. I had bought the WD passport to back up my photos, music and documents. After reinventing my laptop from ground zero, I plugged my passport in and to my wonderment...... nothing. Apparently it didn't work. Yes! How lucky of me. I was smart enough to back up all my photos onto disks, but I have not taken the time to restore them back to my computer. Any advice for the future will be gladly taken! Anyway, I have a lot of posts to catch up on... so here Goes! Enjoy.

Saturday, February 5, 2011

Cricuting....


My first attempt at a card. I made this cute cupcake card for my mother-in-law. Sorry for the poor lighting. I took the pictures with my phone because my camera battery was dead.

I used the Wild Card cartridge to cut out the cupcake card itself. The size setting for the card, cup and frosting were all at 6 inches.
The cup and frosting were cut on adhesive paper (No glueing!! :0) )
The card was cut on Jewel DCDW paper.

The 'happy birthday' is from the same cartridge.
The plaid paper is from a giant stack, sorry I can't remember the name.
Inside I stamped a saying, sorry the picture wouldn't post for some reason.

Can't wait to make more!!!


Saturday, January 22, 2011

Tik Tok

It is almost time for me to hit the blog world full force!! I am in the process of backing up my whole computer and rebuilding from ground zero because my Christmas/Birthday money bought me this....


That is my 750GB WD external hard drive... I can now store up to 150,000 picture files. Infinite potential!

Along with my new hard drive, my mom bought me something I had been keeping my eye on for awhile.


I really wanted a pen tablet, but we couldn't pass up the deal on this one. I still may exchange it for one with a pen. We'll see.

I feel like a whole new person with my awesome new technology!!!

I am slowly moving into the craft blogging world. Woo Hoo!

Sunday, January 9, 2011

I'm Back!!!!

Welcome back creative world!!!! The fall/holiday season took over my entire life... but now that everything is settling down I am going to dedicate a lot of my time to this blog, my photography and my crafting. I may not have blogged over the past few months, but I never stopped crafting and taking pictures. I have a lot to catch up on for everyone.

The best part of my Holiday season?


My Cricut Espressions!!!!!

This was a Christmas gift from my in-laws and a complete surprise. I will now be a crafting fool!!!

Beware: You may recieve A LOT of homemade things now.


So, tonight's post is mostly to point out that this blog is still active and will be much more active in the future.

Thank you!!!

God Bless and see you soon!

Sunday, October 17, 2010

Tuesday, October 12, 2010

Part Deux

To continue......

I will start this post off with a project that kept me busy at the end of August. My Aunt Sharon is a favorite of mine. She is honest, open and a pleasure to be around, plus a total goofball like me.


Aunt Sharon on the left, me on the right sporting Elmo party hats at her granddaughter's first birthday.

At times we make inappropriate comments about other family members, one in particular. I was the unfortunate witness to a massive, figurative, train wreck that was this particular family member. At this point I found it completely necessary to take multiple pictures and e-mail them to her. Her reply was of complete and utter disgust to which I decided I needed to print these pictures and make some sort of scrapbook to put them in. For her of course.


"Ah ha!" I can finally make the fabric scrapbook that I have been dying to make forever.. and soo.. here it is! (Well, after I show you how it was made)

This is a great way to use up your scraps, both fabric and paper.

The only items I purchased for this album was the pink plaid fabric and the metal heart on the front... totaling $1.75.

$1.50 for the fat quarter and $.25 for the heart at a garage sale; I love deals.

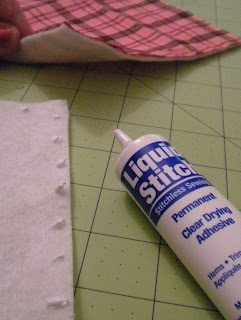
Using felt (4 for $1 at hobby lobby) as the pages gives some sturdiness. I was also able to find sticky 5x7 scrapbook matting paper on clearance. I'm not including this in my price for this because I only used about 6 sheets, if that. You will also need Liquid Stitch (or other fabric type glue), hot glue gun and a needle and thread. Yes, I know, hand-sewing is horrible. :(


The rest of this is up to your imagination and what you have on hand.


First off, determine the size you would like the album to be and how many pages; cut the felt and fabric accordingly.

I am addicted and dependent on a rotary cutter, self healing mat and acrylic ruler. Use what you are comfortable with.

Once you have the felt and fabric cutout for the pages and covers, use liquid stitch to attach the fabric to the felt for the covers. You will eventually end up sewing, this is to just keep yourself together.


Stack all pages together and decide where you will be putting the buttons (or stitch) to hold it all together. Mark with sidewalk chalk so it will come off later and you will know where to not decorate.

At this point let your imagination run wild and design your pages.

(I marked out the pictures that I used because I don't want any proof that I took them or spread the love around.)


Through out all this, buttons were my best friend! They matched perfectly with the feel and look of this project.

<~ half of my button wonderland

The page to the right ended up my favorite.

To get this look I shaped the felt and paper together and stuck the paper to the felt.
(what a great invention - sticky matting paper)
Then I stamped the daisy all over, even on the felt, using an acrylic stamp and ink it up ink. Using scrap green sticky paper from another page I hole punched enough green circles to use as the center of the flowers. I added a few scrapbooking flower stickers and 'Voila!', masterpiece.

Here are a few of my favorite pages

I apologize now on the photo quality, time was of the essence. I took these while packing and running out the front door.


For the cover I took sticky chipboard letters and painted them corresponding colors to spell the word 'AUNT'.

I colored pink sidewalk chalk over the heart and rubbed it off... making it look a little softer.

Lay everything out then hot-glue down.


Using a thread and needle,
add some wonderful finishing touches


To put the book together I used three buttons and ribbon. (see above photo of front cover) Hot glue the ribbon down on the front where you would like to put the buttons. Once cooled, sew the buttons on, going through all the pages to hold them together. Make sure you leave some slack so they don't end up popping off.

Glue another piece of ribbon on the back of the album over the thread where the buttons were sewn on. Like this ~~~~~~~~>


ALL DONE!!!

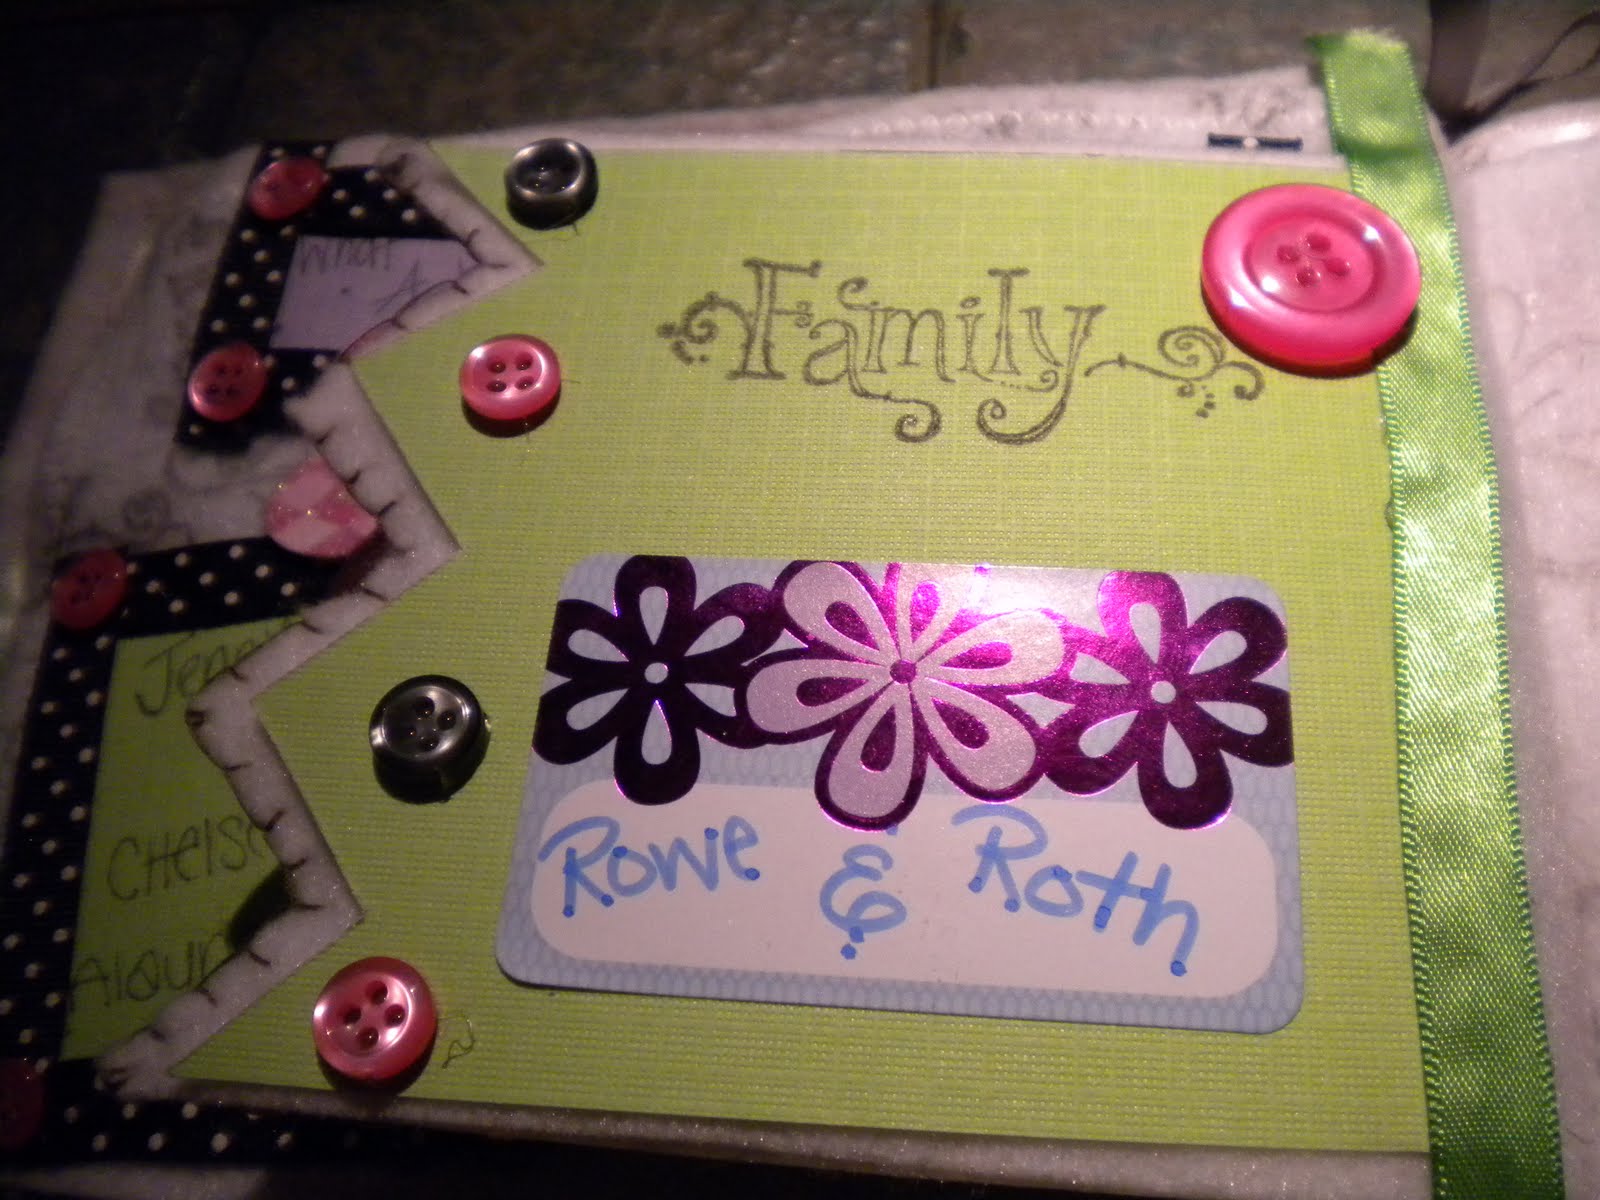
Here is a rundown of my finished pages in order....


THANK YOU for enjoying my fabric scrapbook album. This was a fun project to work on and give. I made her cry with the first page, then she saw the funny pictures. To not be a total waste I did use double sided tape where she could take them out and put in pictures of her other nieces. As an aunt, she has no nephews - except those that have married in.

Stay tuned for some more photowalking pictures and more crafts - a germ (inside, but cute, joke) and a baby blanket for a gal at work.